Migrate Your Shopify Store From WooCommerce
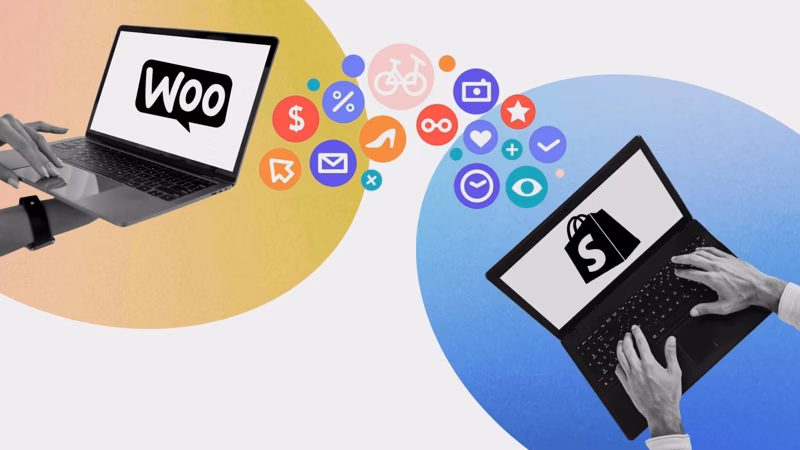
A step-by-step guide to migrating from WooCommerce to Shopify with the Ablestar WooCommerce Importer — products, reviews, redirects, and more.
If you’re contemplating migrating your eCommerce store from WooCommerce to Shopify, you’re likely aware of the challenges associated with transferring vast amounts of data between platforms. It can be as daunting as moving from one house to another with years of content, files, URLs, and assets. However, fear not – the Ablestar WooCommerce Importer Shopify app is here to make this transition seamless and efficient. This comprehensive guide will explore the step-by-step process of migrating from WooCommerce to Shopify using the Ablestar WooCommerce Importer, which will include products, data, product reviews, URL redirects, and everything you need to enjoy your new “home” at Shopify.
Understanding the need for migration
While WooCommerce can be an excellent platform for many e-commerce businesses, there are compelling reasons for stores to transition to the Shopify platform. Shopify offers a user-friendly interface, support, and a range of out-of-the-box features to grow sales on your eCommerce store. The Ablestar WooCommerce Importer app is your key to a hassle-free transition. Ablestar’s Link Manager app will create redirects for the new URL structure in Shopify after transitioning the pages from WooCommerce. The app can complement the transition after the migration is complete to discover any future broken links and to fix issues with 404 pages.
Challenges with Migrating from WooCommerce to Shopify
Migrating product data from WooCommerce to Shopify can be accomplished manually, though cumbersome and with a lot of room for errors, but there’s no easy way to move your order and customer data.
The entire migration timeline and process can take months as new products must be transferred, and all changes made during the migration on those products need to be considered or updated. When stores move to Shopify, it’s standard for the URL structure of the pages to change, sometimes causing 404s and ‘page not found’ errors that wreak havoc on your SEO.
Before we go into the step-by-step instructions on managing the migration, let’s review the key features of the Ablestar WooCommerce Importer.
Key Features of Ablestar WooCommerce Importer
Direct Connection to WooCommerce API
One of the standout features of the Ablestar WooCommerce Importer app is its direct connection to the WooCommerce API. This direct link ensures a more accurate and comprehensive data migration process, reducing the chances of errors that may arise from handling different file templates. For step-by-step instructions on enabling WooCommerce API access to your Shopify store, visit the help center.
Product Review Migration
Ablestar WooCommerce Importer facilitates the migration of product reviews from WordPress to a reviews app for Shopify. This ensures that all reviews from the old eCommerce site are hosted on Shopify servers – a crucial step, especially if you plan to switch off your old WordPress/WooCommerce servers.
Data Migration
The issue isn’t migrating the data itself for most; it’s the cleanliness of the data. The actual input of data is usually okay, but the formatting can become a nightmare for many stores.
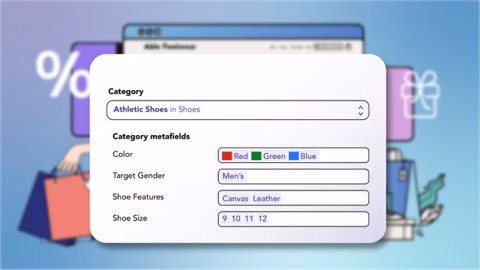
The app supports migrating various data types, including products, with variants, categories (collections), redirects, customers, and orders. For a more comprehensive list of what exactly gets migrated over, please check out this list.The formatting of the data maps nicely for each field type, or you can correct any formatting issues before reuploading the CSV file to the app. Orders are linked to the products after they are migrated to Shopify. For reporting, this is an important feature so the order links to the actual product instead of just the product description like you can get from other solutions.
Compatibility
The migration tutorial provided by Ablestar is designed explicitly for WooCommerce API version 3 (WooCommerce version 3.5), ensuring compatibility with the latest WooCommerce standards.

Step-by-Step Guide for Migration
1. Preparing Your WooCommerce Store
Begin the migration process by preparing your WooCommerce store for the switch. Ensure that your current website is up to date and back up all essential data, including products, customer information, and order history. This precautionary step guarantees that no critical data is lost during the migration.
2. Setting Up Your Shopify Store
Create a Shopify account and set up your new store. Familiarize yourself with Shopify’s interface and features, ensuring you understand how to navigate the platform efficiently. Shopify offers a 14-day free trial, allowing you to explore its capabilities before fully committing.
3. Installing the WooCommerce Importer App by Ablestar
Navigate to the Shopify App Store to the WooCommerce Importer App by Ablestar. Install the app and follow the setup instructions provided. The app simplifies the migration process by facilitating the transfer of crucial data from your WooCommerce store to your new Shopify setup.
4. Exporting Data from WooCommerce
Using the WooCommerce Importer App, export your product listings, customer details, and order history from your WooCommerce store. The app automates this process, ensuring your data is transferred accurately and efficiently without the risk of manual errors.
5. Importing Data to Shopify
Once the data is exported from WooCommerce, use the WooCommerce Importer App to import it into your Shopify store. The app ensures that product attributes, customer details, and order information seamlessly integrate into your new Shopify setup.
6. Reviewing and Optimizing
After the data migration is complete, review your Shopify store to ensure all information has been transferred accurately in the Shopify admin. At this stage, either contact support or use the Ablestar Bulk Product Editor to ensure the data matches Shopify’s format. Take advantage of this opportunity to optimize your storefront, update product listings, and enhance the overall user experience.
7. Testing Your Shopify Store
Before officially launching your Shopify store, conduct thorough testing to identify and resolve any potential issues. Check product pages, shopping cart functionality, and payment gateways to guarantee a smooth customer experience.
8. Updating DNS Settings
Once you are satisfied with the testing, update your domain’s DNS settings to redirect traffic to your new Shopify store. This step is for a smooth customer transition and prevents service disruptions.
9. Launching Your Shopify Store
With everything in place, it’s time to launch your Shopify store officially. Announce the move to your customers through email, social media, and other communication channels, providing them with the new URL and any additional information they may need.
Conclusion
Migrating from WooCommerce to Shopify may seem like a daunting task, but with the Ablestar WooCommerce Importer Shopify app, it becomes a straightforward and efficient process. Following the step-by-step guide outlined in this tutorial, you can ensure a smooth transition, preserving all your crucial data and setting the stage for success in your new home on the Shopify platform. Make the move today and enjoy the benefits of a robust e-commerce solution with Shopify, supported by the powerful capabilities of Ablestar WooCommerce Importer.